|

|
|
Shooting Flowers with Helicon Focus
by Russ Greene
I've always loved nature but never thought of myself as the kind of person that really liked flowers very much. In recent years I started to appreciate them more as I began the habit of walking to a local coffee shop past the gardens in my neighborhood during the spring and summer months. Shooting flowers close-up soon became a passion. There is so much beauty to be found in some of them: shape, form and color. When you get in really close you see things that you can't very well observe with the naked eye. It's like a whole other world.
The godetia featured in this article was found at a local florist that does a terrific job of stocking flowers that are not the run-of-the-mill flowers commonly found at most other places. I think it cost about a dollar US which makes it a real bargain considering the pleasure I found in shooting it and the resulting images. I should add that until recently I shot all my flower photos outdoors with natural light. I've done some indoor shooting lately including the photo featured in this article--it's easier to shoot multiple images for stacking indoors where there is no wind to blow your subjects around.
When photographing a flower I look for different angles to shoot it from. In the studio, or in this case my living room, I'll turn it round and round, tip it forward and back, raise the camera, lower it, etc. I'll move the lights looking for interesting patterns of light, shadow and texture that become visible as I move things around. I'll shoot a shot and preview it on the LCD of my camera, then I might move the light, add a second light or a fill card until I either find something I like or give up and try something else. If your camera has a histogram feature it's extremely useful and I recommend you become proficient at using it. Generally speaking you don't want high or low values spilling off the end of the graph. Those areas will be overexposed or underexposed respectively.
I often start by shooting the entire blossom a few ways then moving in closer for a few shots, then closer yet, until I can't get any closer. With all the variations I might try it's easy to spend several hours or more shooting a single flower. I've been shooting the godetia blossom used in this article over a period of three or four days. One of the biggest differences between amateur and professional photographers is the number of photos they take: pros take a whole lot more. Of course, when you are shooting 10 or 20 frames to make a stack it adds time, but the results can truly be worth it.
I'm frequently both surprised and pleased to discover ways of seeing a blossom that I had not planned or anticipated. For me, this joy of discovery, these pleasant surprises are a part of the fun in shooting some of nature's most beautiful creations. We are truly fortunate to live in a world full of such beauty and to have the gift of sight in order to be able to appreciate it.
Equipment:
Nikon D2x, 105mm f2.8 Micro Nikkor lens at f11; Dynalite studio flash using two flash heads with angle reducing rings; white card for fill. (Professional lights are not at all necessary. I just happened to have them. The same shot could easily have been taken with a couple of speedlights. In fact, since the flash heads I have are cooled by blower fans they are sometimes a liability because they tend to blow flowers around if they get too close.)
Setup:
Lights: one to the left and slightly in front of the camera and slightly in front of the flower; fill from behind and to the slightly to the right of camera; bounce card to the right of the flower.

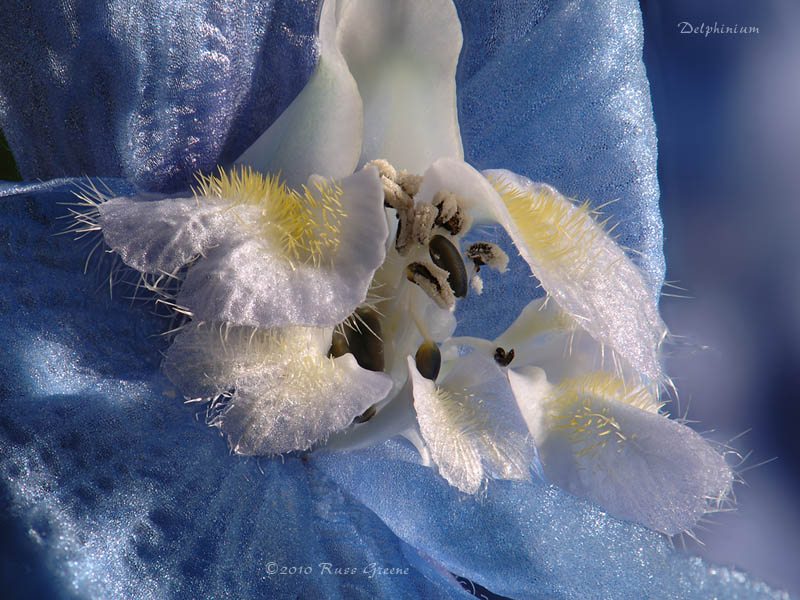
The apparent depth of field in this shot was only obtainable by stacking images. I used Helicon Focus to combine 21 frames, each focused a little further into the scene. I began at the nearest point in the scene which was at the bottom left, took a shot, then simply rotated the focusing ring on my lens a little bit in order to focus a little further into the scene. I did this rather casually without making any calculations or employing any sophisticated equipment such as an automated focusing rail or modified bellows. Of course, the camera was on a tripod. This is a must for image stacking. After 21 shots I found that nothing else came into focus when rotating the focusing ring on the lens so I stopped shooting at that time.
Next, I imported the 21 frames into Helicon Focus and using the default settings of Method A. The final image was rendered in a minute or two. I've only been using Helicon Focus for a week or two so I haven't developed any fancy techniques to use it. That's just fine by me. The software seems to work quite well at the default settings and the less effort I have apply in using a software product the better. I've had good success with Helicon Focus right out of the box. As a professional photographer with 40 plus years of shooting experience I'm awed at the results I can get with it so easily.
Some retouching was required in places as there were a few places where unfocused halo artifacts were seen around some of the flower's filaments and anthers. I cloned in some of the surrounding flower without much difficulty, sometimes using 100% opacity and sometimes less.
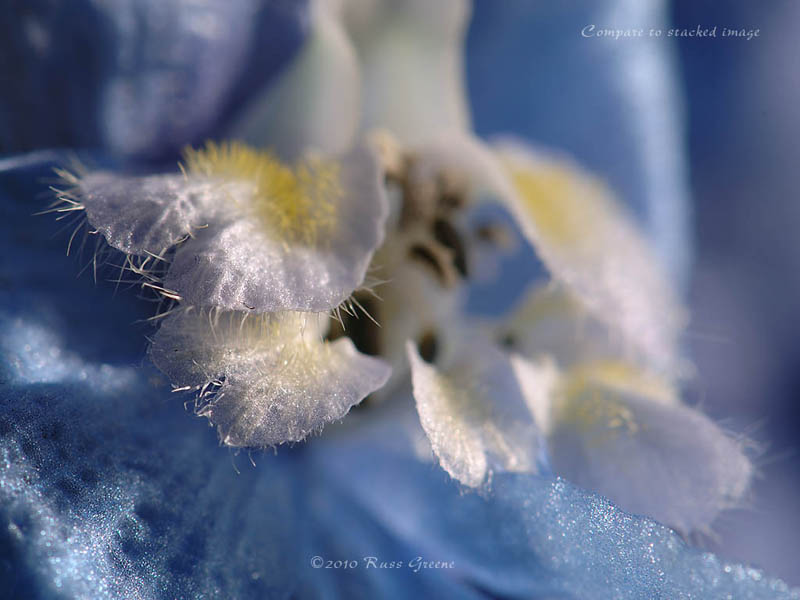
For comparison I have included a photo which was 8 frames into the stack. You can see that the top of the stigma (the white stalk in the center of the flower, and part of an anther or two with grains of pollen on them are in focus. The depth of field is so shallow that hardly any of the image is in focus. Compare that to the final result where virtually the entire image is sharp as a tack. Helicon Focus rocks! I now regard this software as an indispensable part of my photographic toolbox.
Immediately below is the finished photo. Below that is the the frame which is eighth in the stack.
With Helicon Focus

Without Helicon Focus (below)
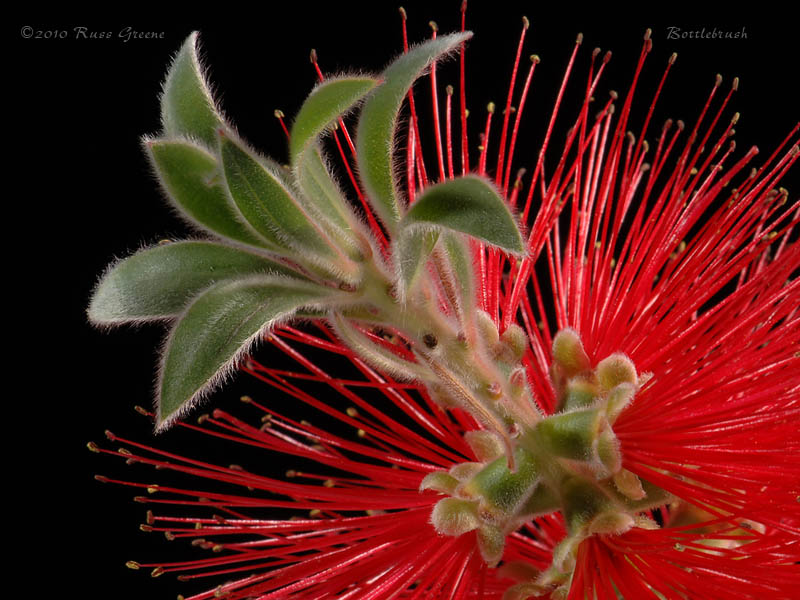
Without Helicon Focus (below)
